Restore / tape residue
Digitally Remove Tape Residue from Old Photos
AI can reduce yellow adhesive stains, tape lines, and small surface marks on a scanned photo without further contact with the print. Where tape lifted the emulsion, that image material is gone and the repair is an interpretation. Have fragile, taped originals handled carefully before scanning. Keep the untouched scan beside the result.
- 3 free previews a month
- No signup
- Ready in minutes
- One payment — nothing to cancel
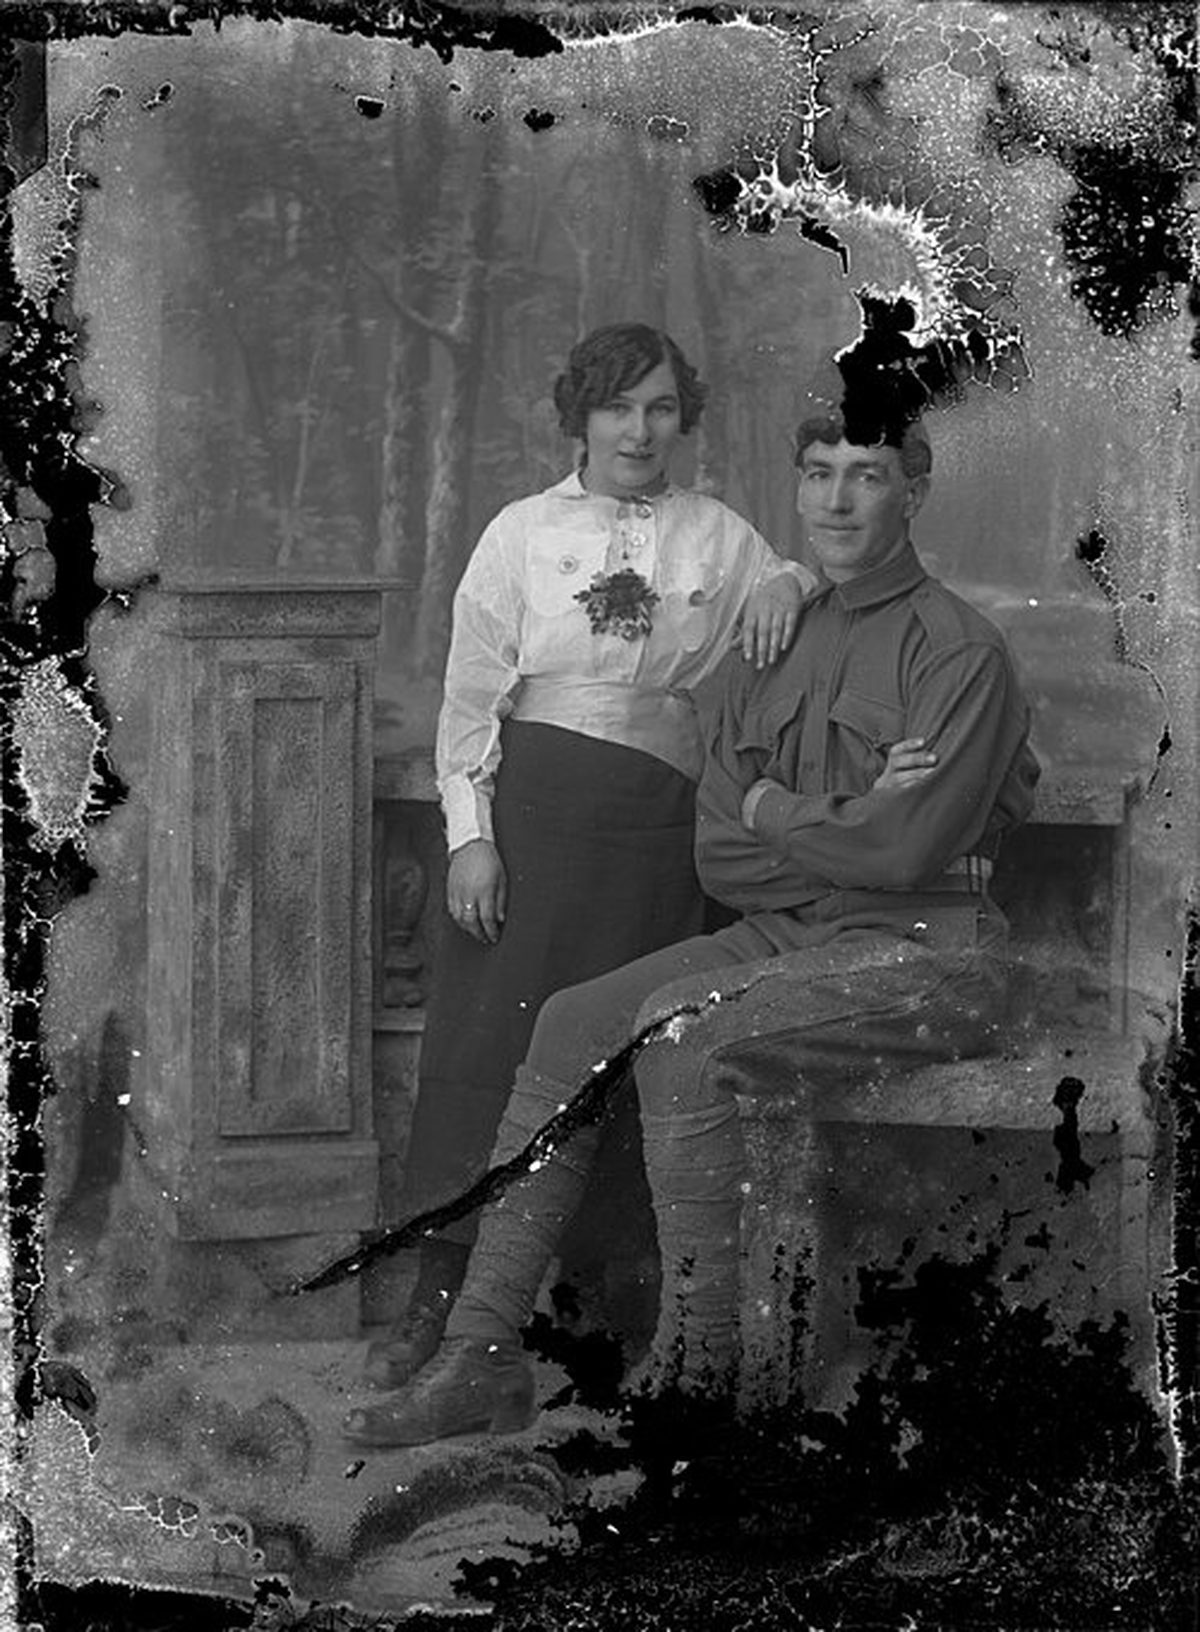
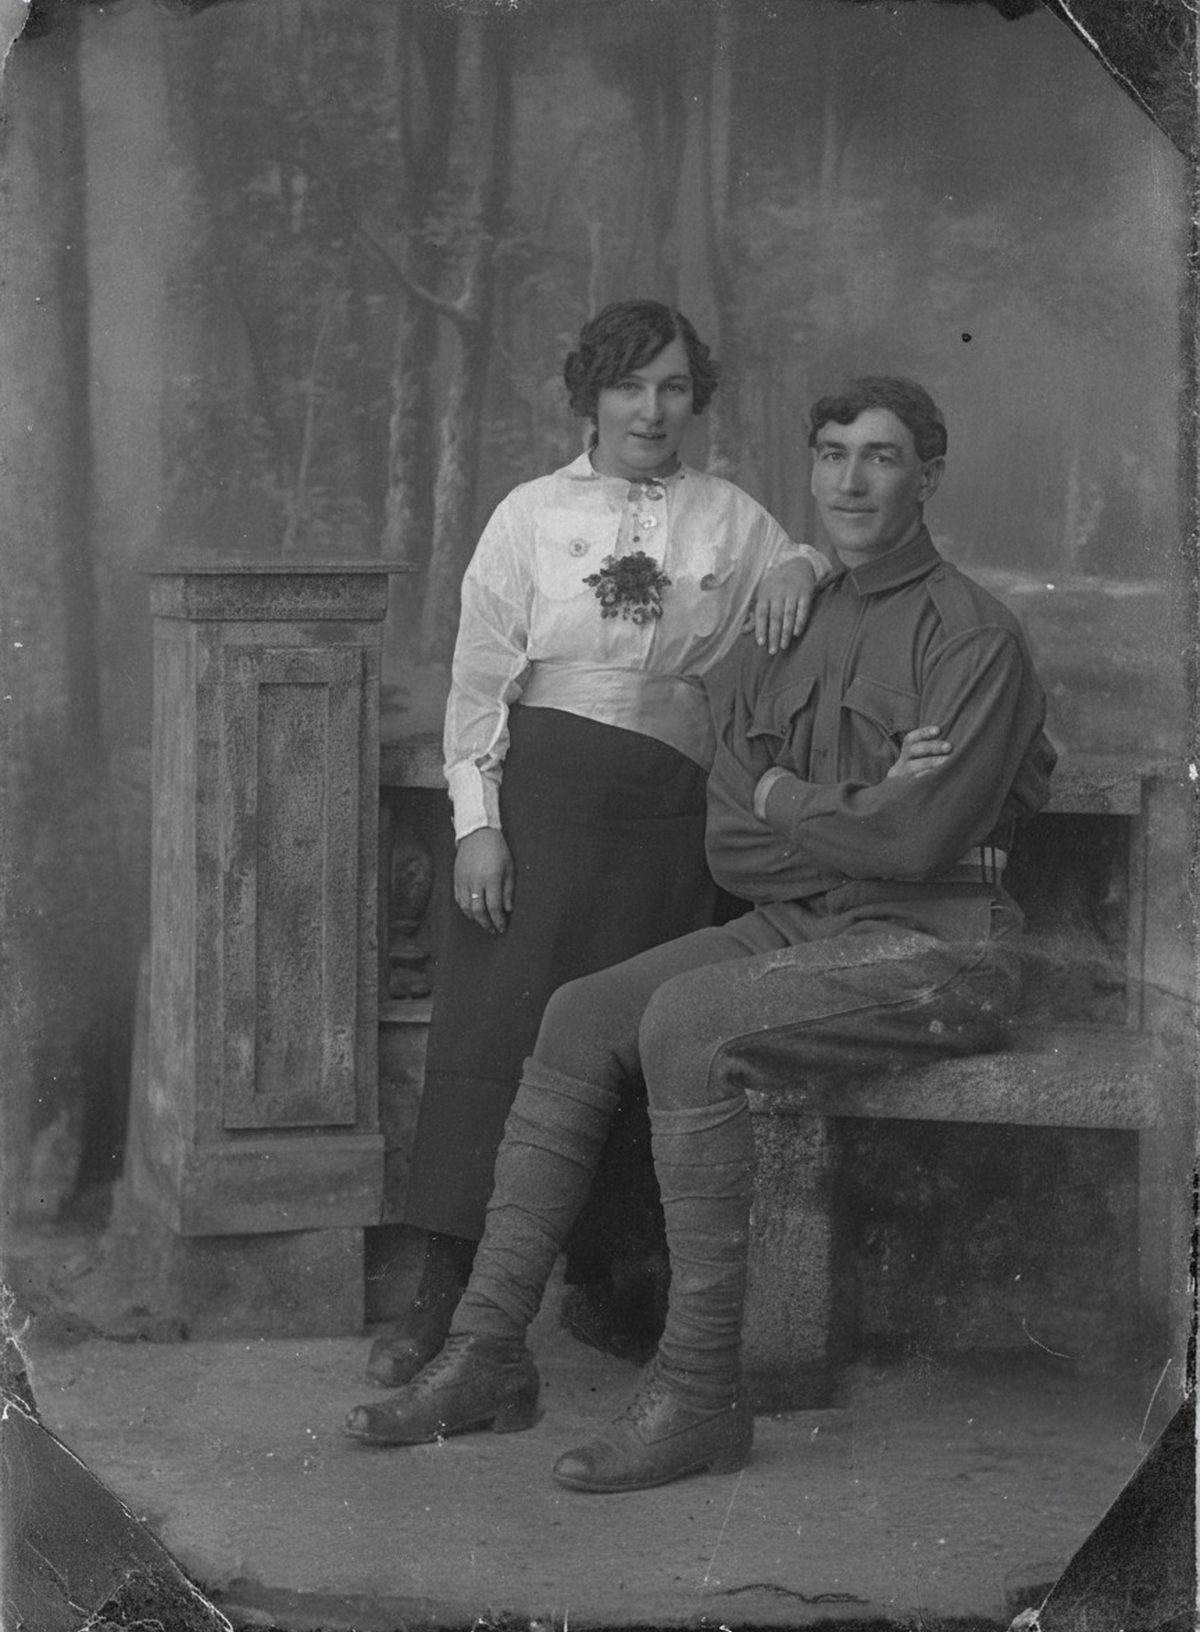
How it works
Upload your photo
Drop in a scan or phone photo of the damaged print. Your original is never touched, and there's no signup.
Preview it free
See the restoration beside your photo in about a minute. Drag the slider and judge it for yourself before you spend a cent.
Keep what you love
Pay only for the results worth keeping, then download them in full resolution.
Preview your photo — freeWhat to know before restoring this photograph
Tape ages in stages, and an old repair shows all of them. The adhesive oxidizes from clear to yellow to brown, staining the print in a stripe the shape of the mend. The plastic carrier often falls away after years, leaving a band of sticky residue that keeps darkening — and where the adhesive cross-linked with the gelatin beneath, it has effectively become part of the photograph.
That is why a tape mark cannot be wiped off: it is chemical staining bonded into the surface, not dust resting on it. The straight edges give it away on a scan — damage from age wanders, while damage from tape runs in ruler lines.
The one rule for the physical object: do not peel old tape from a fragile print. Aged adhesive frequently grips the image layer harder than the image layer grips its paper, so pulling the tape lifts emulsion with it and turns a stain into a hole. Leave removal to a conservator; scan the print exactly as it is, tape included, at 600 dpi.
Working from that scan, the AI reduces the yellow-brown staining, softens the ruled edges of each strip, and blends the glossy residue marks back into the surrounding tone — all without the print being touched again.
Where the picture beneath the tape survived, that cleanup is dependable. Where tape already tore emulsion away — usually the spot someone once peeled — the image material is gone, and what fills the gap is an interpretation guided by its surroundings.
Look at what the tape was doing before deciding everything must go. A strip mending a tear may cross a face and deserve every effort; a strip that only ever held the print into an album may be worth leaving as part of the object's story. The repair can target one without the other.
Evaluate the draft where the stripes crossed important detail — an eye under the yellowed band, handwriting under the residue — and compare those regions against the unedited scan on a decent screen before accepting.
File the as-taped scan, the cleaned version, and a note of where tape once ran and which patch was rebuilt. If a conservator ever does lift the tape, that record shows exactly what the print looked like before and after both interventions.
The free preview will show how far the staining calms while the faces hold steady. If the cleaned print is the one you want on the wall, export it — the only cost is the downloads you keep, and the fragile original never has to be handled again.
Questions about photographs with tape residue
Can you remove tape and adhesive stains from an old photo?
Once the print is safely scanned, AI can reduce the yellow adhesive staining, soften straight tape edges, and blend residue that sits on top of a readable image. Where the tape actually pulled away the emulsion, that image material is gone—the repair fills the gap plausibly rather than recovering what was lost.
Should I peel the tape off before scanning?
Not on a fragile or valuable print. Old tape can lift the emulsion and cause more loss, so it’s safer to leave it and, if needed, have a conservator handle it. Scan the photo as it is, and let the restoration work on that digital copy so the original is never stressed further.
How much does a restoration cost?
The preview is free. Full-resolution downloads are $7.99 per photo, and the rate drops the more you restore — down to $4.49 each on the largest batches. Each photo includes up to three restoration attempts, and downloads stay available for 30 days.
Can I print the restored version?
Yes, if the file has enough pixels for the intended size. Inspect faces and fine details before printing, and keep the higher-resolution master separate from the print export.
See what your photo can become
Upload it, preview the restoration free, and keep only the result that feels right.
Preview your photo — free- 3 free previews a month
- No signup
- Ready in minutes
- One payment — nothing to cancel