Restore / tears and rips
Repair Torn and Ripped Photos with AI
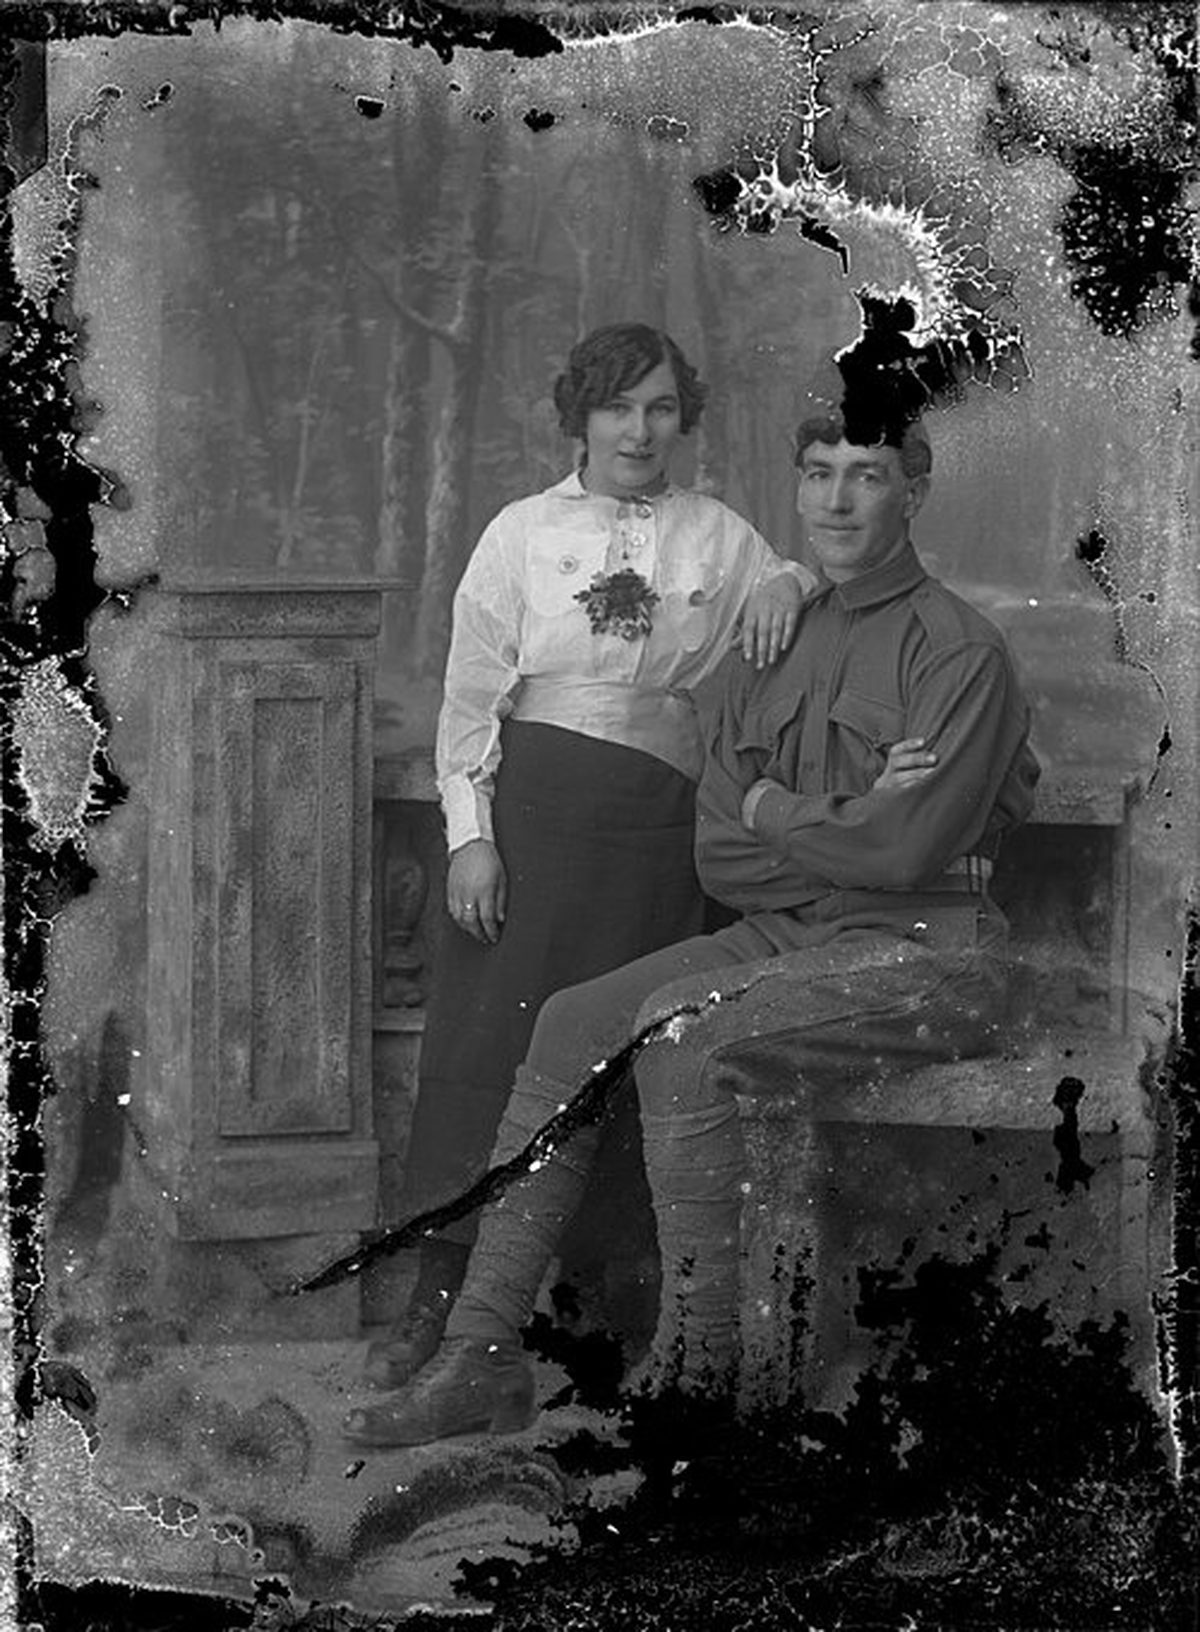
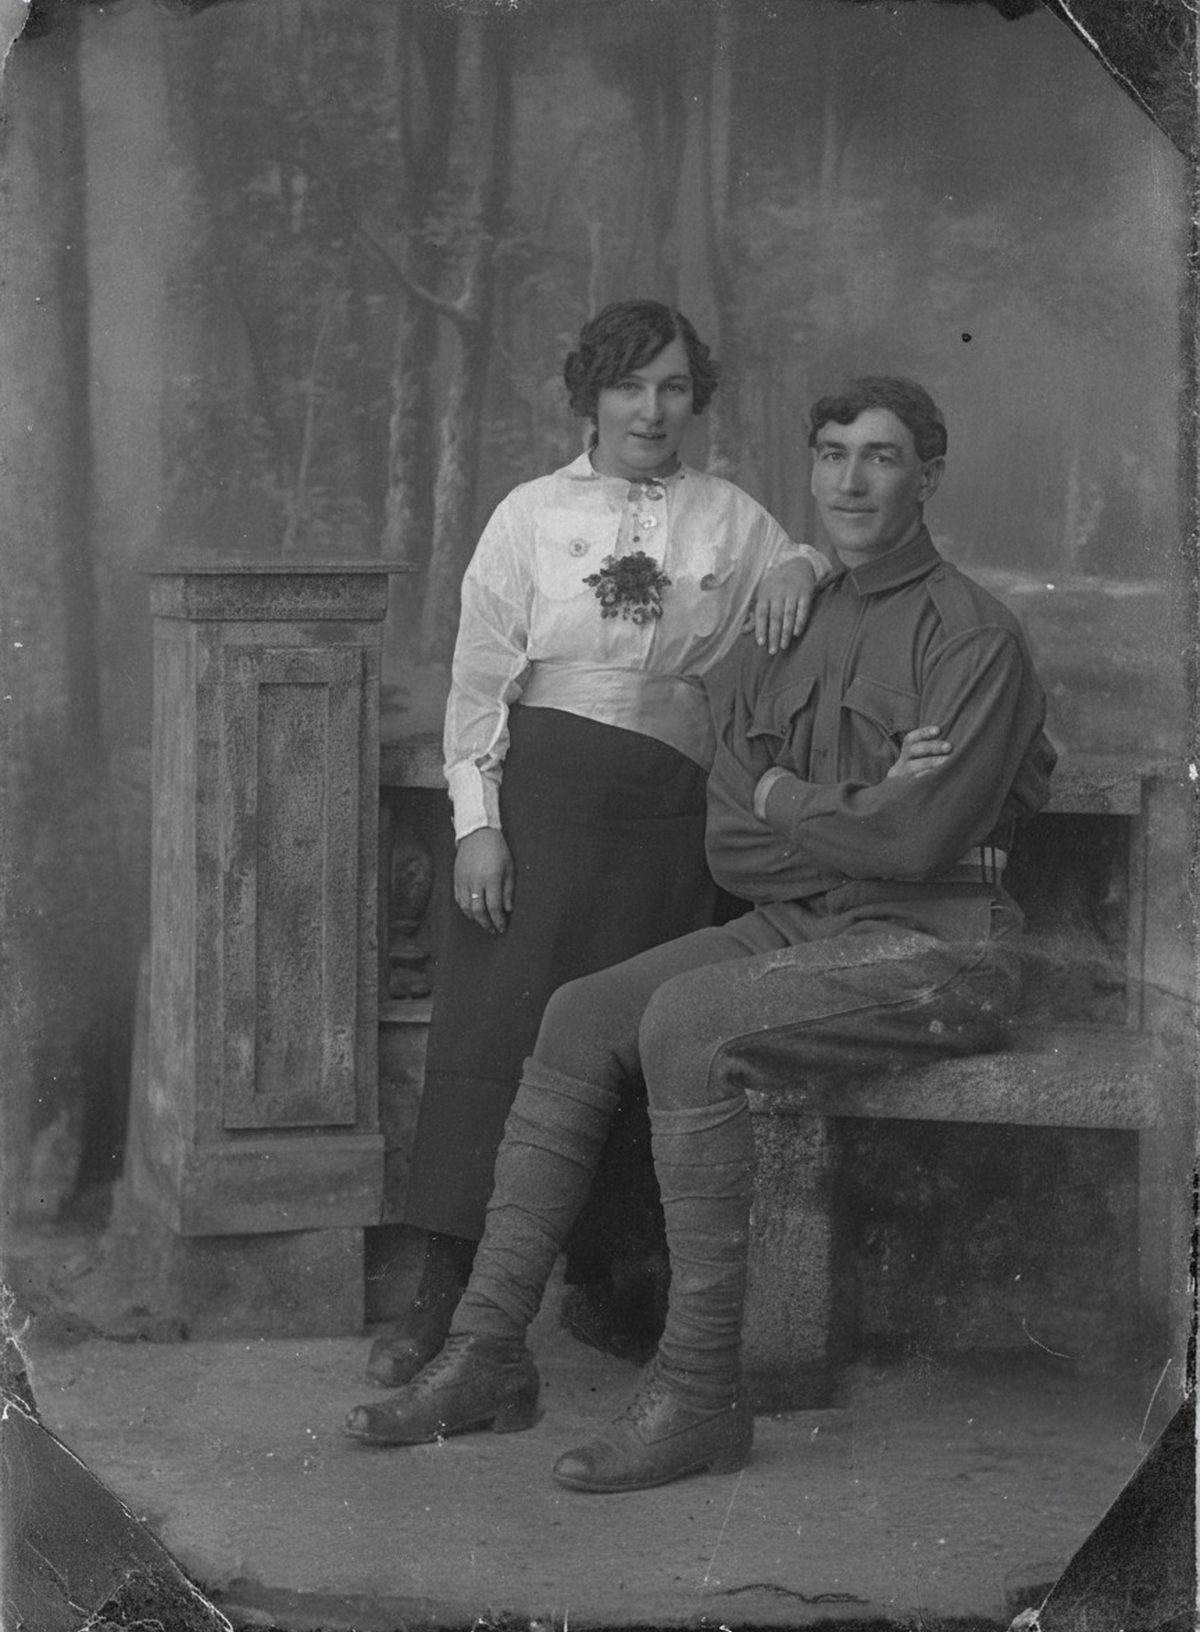
The edit can align tonal breaks, bridge narrow gaps, and rebuild a continuous background before addressing contrast and surface wear. Missing facial or uniform detail between separated pieces must be plausibly reconstructed and may not match the lost photograph. Keep the untouched scan beside the result.
- 3 free previews a month
- No signup
- Ready in minutes
- One payment — nothing to cancel
How it works
Upload your photo
Drop in a scan or phone photo of the damaged print. Your original is never touched, and there's no signup.
Preview it free
See the restoration beside your photo in about a minute. Drag the slider and judge it for yourself before you spend a cent.
Keep what you love
Pay only for the results worth keeping, then download them in full resolution.
Preview your photo — freeWhat to know before restoring this photograph
A tear does more to a photograph than divide it. Ripping pulls the paper fibers apart, so each edge carries a fringe of exposed white base where the emulsion lifted, and the two halves relax into slightly different curls and angles. Even perfectly rejoined, the pieces meet at a seam that is physically lighter than the picture around it.
Fresh clean breaks and old tears age differently. A recent rip still has edges that key together like a puzzle; a tear handled for years has worn those edges round and shed slivers, so a thin strip of the image may simply no longer exist between the halves.
Set every fragment on a clean, dark backing and fit them together as closely as they will lie — but never tape them, not even on the back, because today's mend becomes the next generation's adhesive stain. Scan the whole arrangement at 600 dpi with generous margin around the edges.
From the assembled scan, the AI aligns the brightness and tone across the break — the two halves rarely scan identically — bridges the gap, and rebuilds the background so the seam reads as continuous picture rather than a repaired one.
Where both edges survived, the join can nearly vanish; that is this repair's best case. Where a sliver went missing between the pieces, the strip is reconstructed, and its reliability depends on what it crosses: lost sky is safe, a lost stripe of patterned uniform is a guess, a lost band of face is an interpretation to double-check.
The seam through a subject deserves a second opinion. Show another person the raw assembled scan, then the mended draft, and ask whether anything about the face or posture changed across the line. A fresh eye catches drift the requester stops seeing.
If the tear split people apart — the classic torn-in-half couple — decide whether the goal is one whole photo or a documented object. Both are legitimate; they just lead to different amounts of reconstruction and different notes in the file.
Keep the fragment scans and the assembled capture beside the mended master, with a line marking where the tear ran and what was filled. The original scan remains the map of the break even after the picture reads whole.
Lay the pieces together, scan them, and let the free preview show whether the tear knits closed. Keep the mended version only if it convinces you at full size — the charge is for the exports you choose.
Questions about torn and ripped photographs
How do I fix a photo that's torn in half?
Scan both pieces together on a flat, dark surface, then let AI align the tone across the break, bridge the thin gap, and rebuild the background so the seam reads as one picture. Where the tear ran straight through a face or a patterned sleeve, that missing strip is filled with a best guess and may not match what was lost. Keep the original scan beside the result so the repaired line stays honest.
What if one of the torn pieces is missing entirely?
AI can still close a narrow gap by extending the surrounding tone and texture, so a lost sliver of sky or wall usually disappears cleanly. A large missing chunk over someone's face is different — there's nothing to copy from, so the fill is invented and should be kept light. Line the pieces up as closely as you can before scanning to give the edit the most real edge to work with.
How much does a restoration cost?
The preview is free. Full-resolution downloads are $7.99 per photo, and the rate drops the more you restore — down to $4.49 each on the largest batches. Each photo includes up to three restoration attempts, and downloads stay available for 30 days.
Is my original scan safe?
Yes. The restoration is a separate file, so your scan stays exactly as it was. Keep the raw scan archived on its own; a fragile, moldy, or flaking print should be handled and captured carefully before you ever upload it.
See what your photo can become
Upload it, preview the restoration free, and keep only the result that feels right.
Preview your photo — free- 3 free previews a month
- No signup
- Ready in minutes
- One payment — nothing to cancel