Restore / sun bleached
Restore Sun-Bleached Photos and Lost Color
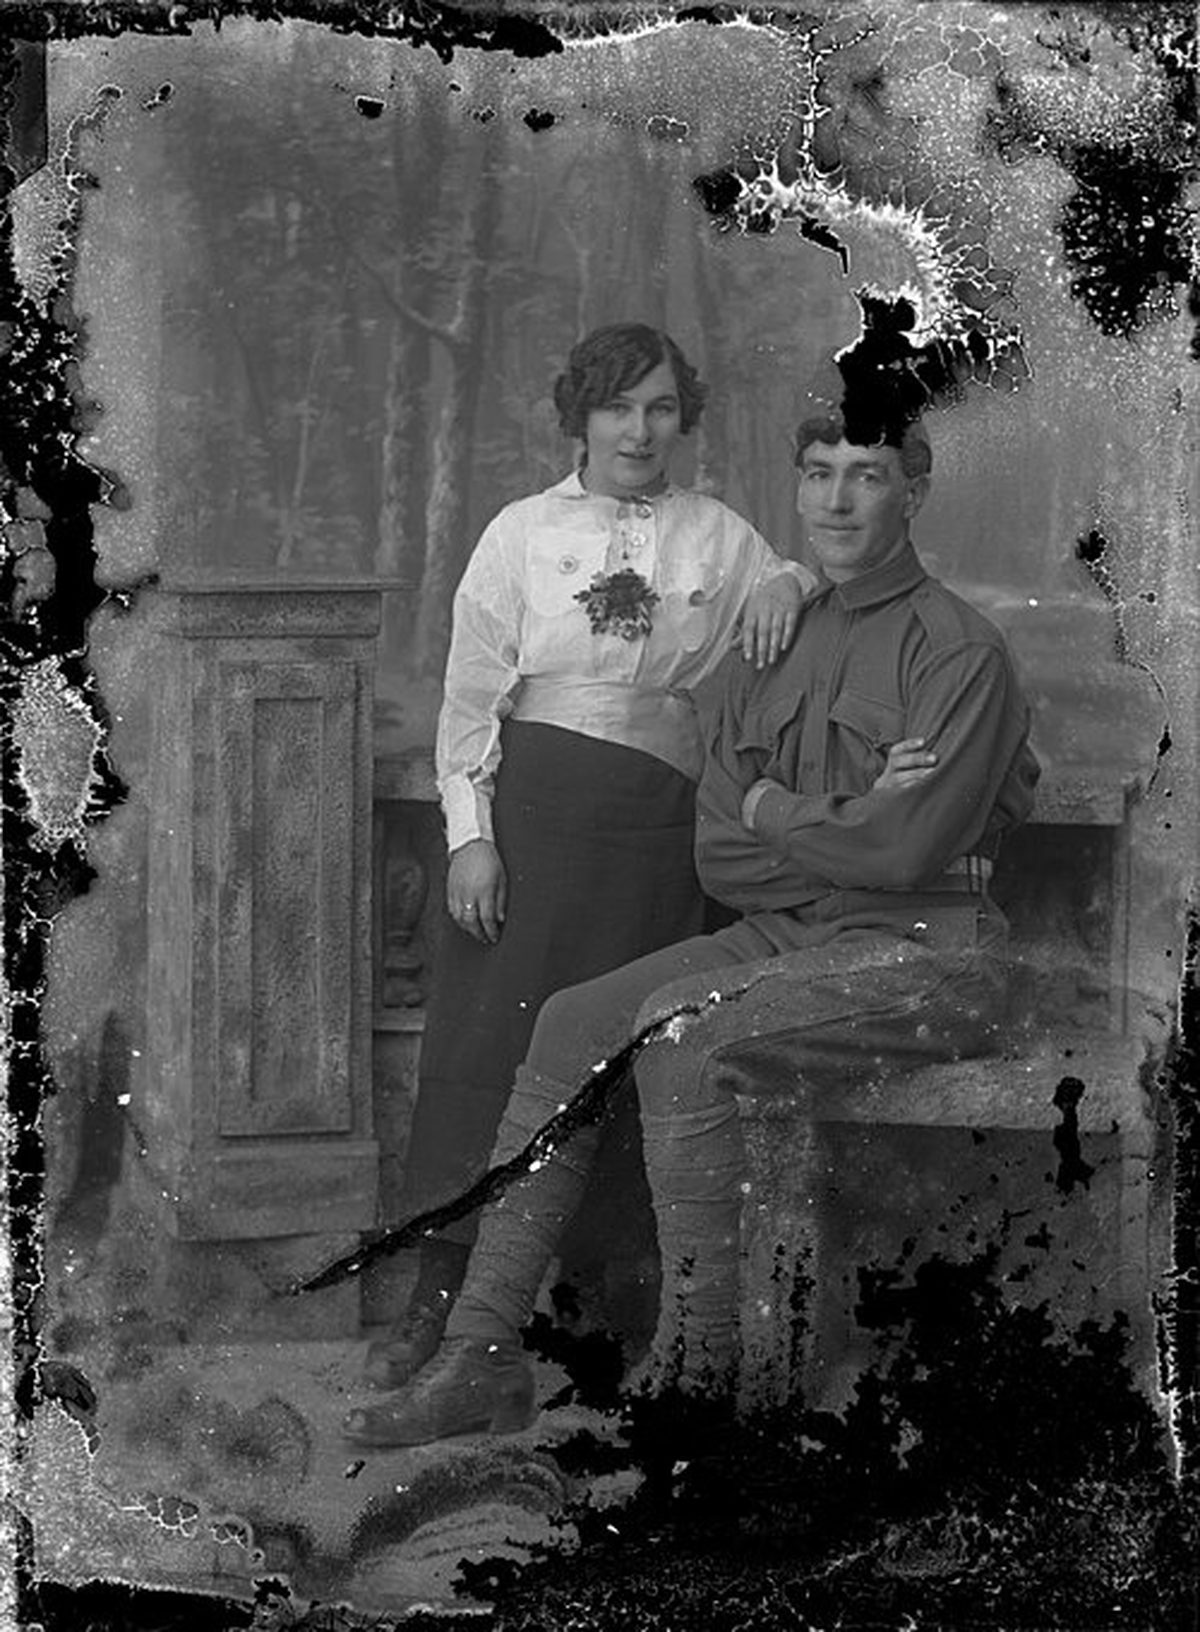
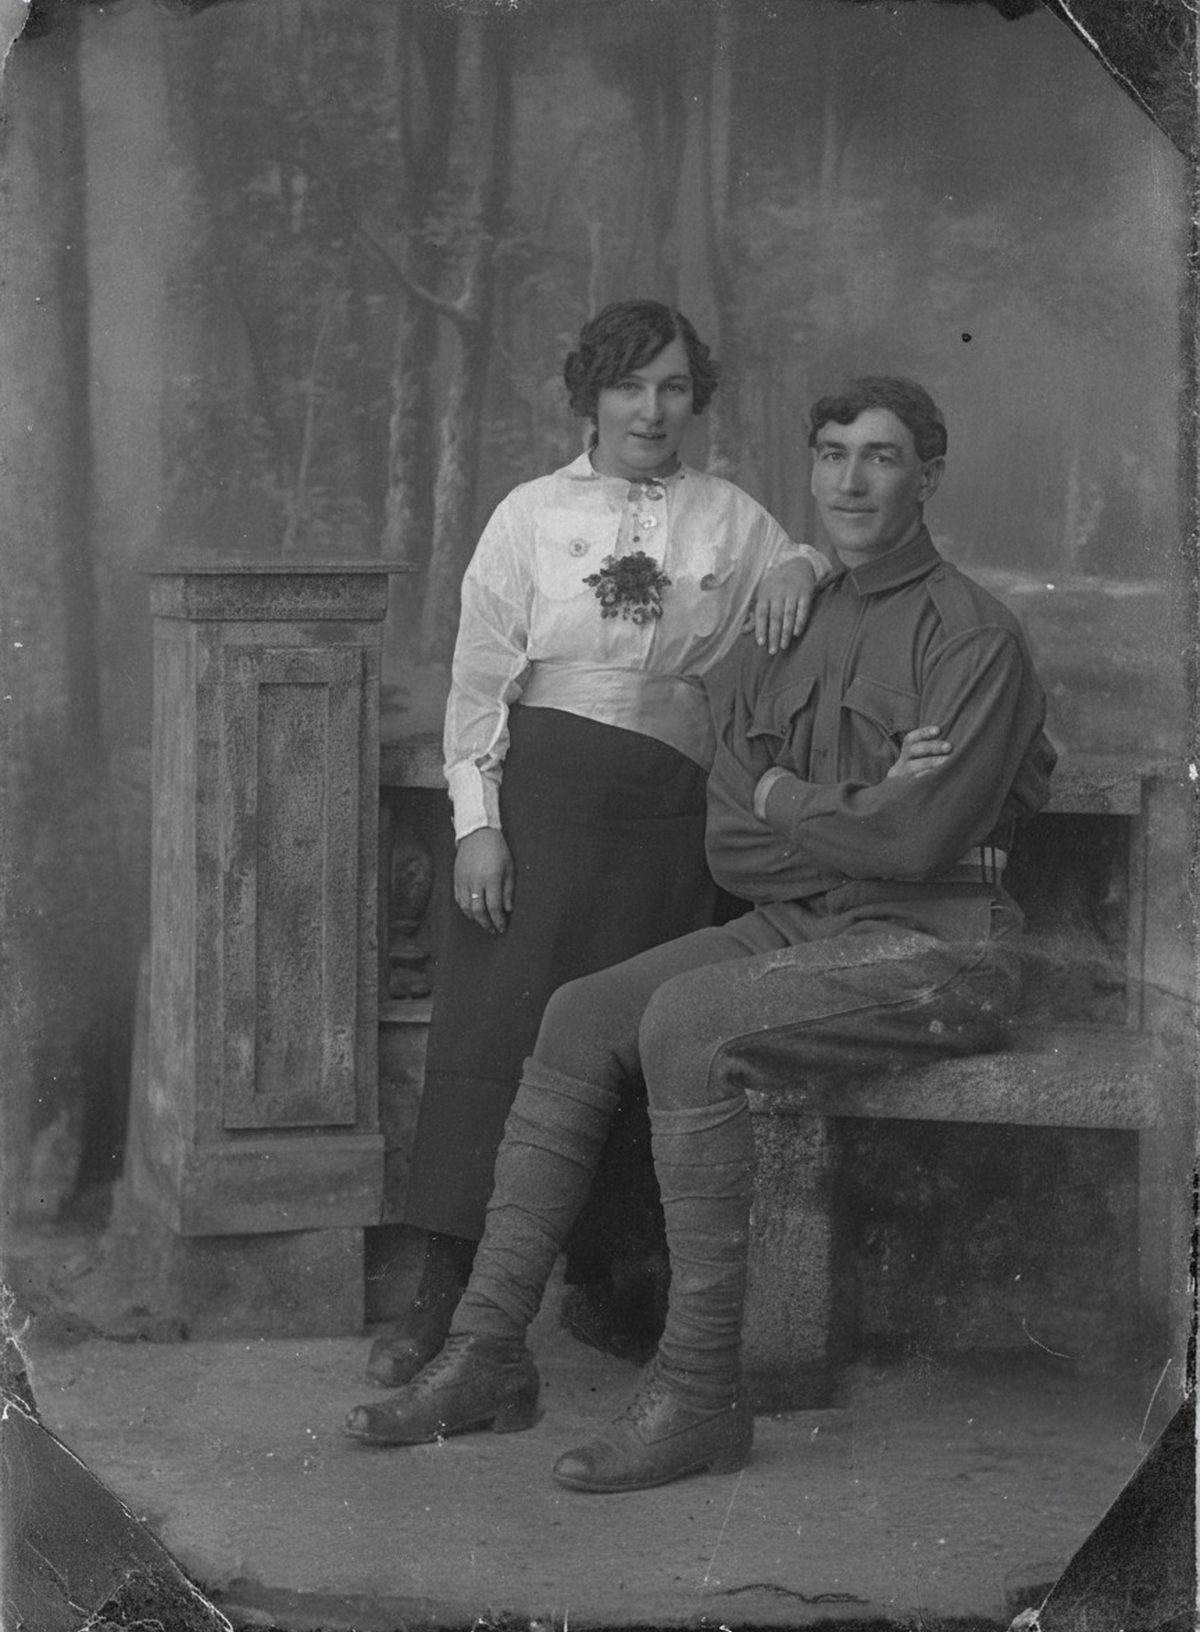
The edit can use surviving areas to restore contrast, reduce a strong cast, and make the exposure transition less obvious across the picture. Where every dye layer has faded to blank paper, color choices are estimates. Future display should use a copy while the original rests in dark storage. Keep the untouched scan beside the result.
- 3 free previews a month
- No signup
- Ready in minutes
- One payment — nothing to cancel
How it works
Upload your photo
Drop in a scan or phone photo of the damaged print. Your original is never touched, and there's no signup.
Preview it free
See the restoration beside your photo in about a minute. Drag the slider and judge it for yourself before you spend a cent.
Keep what you love
Pay only for the results worth keeping, then download them in full resolution.
Preview your photo — freeWhat to know before restoring this photograph
Sunlight fades photographs by photolysis: ultraviolet light snaps dye molecules apart, a little more every day a print hangs in the light. The dye layers break down at different speeds, which is why a sun-faded print does not simply lighten — it shifts, often toward pale washes and oddly blue shadows as the warmer dyes give out first.
The tell is unevenness. A print faded by time alone fades all over; a print faded by display fades where the light fell — a pale zone facing the window, a sharp line where the frame's mat covered the edge, a bright rectangle matching a sticker or an overlapped snapshot.
That protected strip is treasure. The margin hidden under the mat kept something close to the print's original color balance, so scan the entire sheet edge to edge, protected border included. Take the photo out of its frame only if it releases without resistance — prints can adhere to glass, and a stuck one should stay put for a conservator.
The restoration uses the surviving evidence — protected edges, shaded corners, whatever held its color — as an anchor, rebuilding contrast, easing the cast, and smoothing the boundary where the exposure changed across the picture, so the rebalanced result stays tied to real evidence rather than taste.
Anchored corrections are the dependable part. The interpretive part begins where a dye layer bleached all the way to blank paper: with nothing left to read, the color returned there is an estimate, reasoned from its surroundings rather than recovered from the print.
Look hardest at the transition zone where faded and protected regions meet. That seam is where an overcorrection shows first — a face half in each zone should come out looking like one person, not two exposures stitched together.
The warning for this damage is about what happens next: fading resumes the day the original goes back on the wall. Frame the restored copy instead, and let the original rest flat in a dark box; paper and dye stop degrading meaningfully in the dark.
Archive the full uncropped scan — protected margin and all — beside the rebalanced version, noting which areas were estimated. The margin is the only surviving record of what the print's color used to be.
See the free preview before deciding: the cast easing, the window-side pallor evening out, the frame line dissolving. If the rebalanced print earns wall space, export it — payment is for the downloads you choose, nothing earlier.
Questions about sun-bleached photographs
Can you restore a photo the sun has faded?
Often, yes. Where some color survives — a strip protected under a mat, a shadowed corner — AI can use those areas to rebuild contrast, pull back a heavy cast, and smooth the uneven transition where light hit hardest. Where a dye layer has bleached all the way to blank paper, though, the color it puts back is an educated estimate rather than recovered fact.
Can color come back where the photo has faded to plain paper?
Not as recovered fact — once a dye layer is gone, there’s nothing left to read, so any color there is the AI’s best guess. It works far better on partial fading, using surviving regions as a reference for the original balance. Scanning the full border, including any protected strip under a frame, gives it the strongest clues to work from.
How much does a restoration cost?
The preview is free. Full-resolution downloads are $7.99 per photo, and the rate drops the more you restore — down to $4.49 each on the largest batches. Each photo includes up to three restoration attempts, and downloads stay available for 30 days.
Will running this change or damage the photo I upload?
It never touches the file you keep. The editor generates a new restored version and leaves your uploaded scan intact. Save that original under its own filename and note anywhere the restoration rebuilt missing detail.
See what your photo can become
Upload it, preview the restoration free, and keep only the result that feels right.
Preview your photo — free- 3 free previews a month
- No signup
- Ready in minutes
- One payment — nothing to cancel