Restore / film negative
Restore a Film Negative Scan Online
After a sound inversion, restoration can remove distraction, balance density, and reveal faces or textures lost in a faded paper copy. A badly underexposed frame has little shadow information. AI can propose detail, but it cannot recreate an exact exposure that film never recorded. Keep the untouched scan beside the result.
- 3 free previews a month
- No signup
- Ready in minutes
- One payment — nothing to cancel
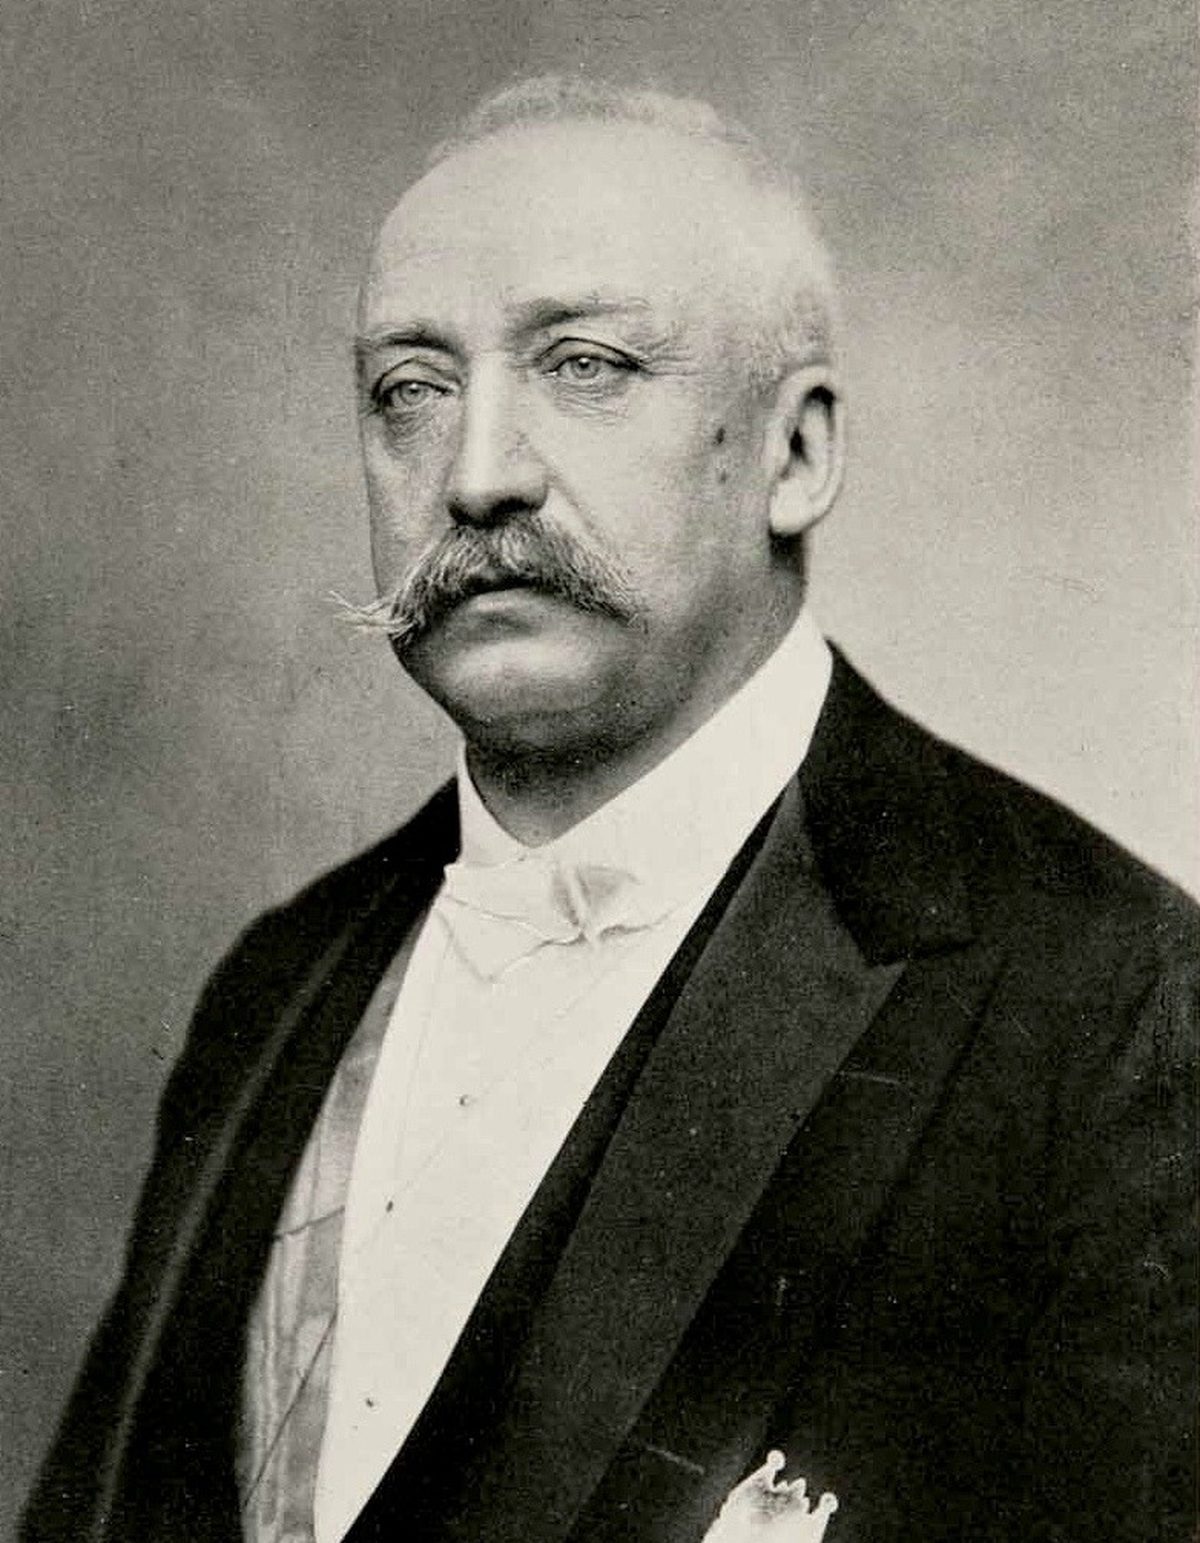
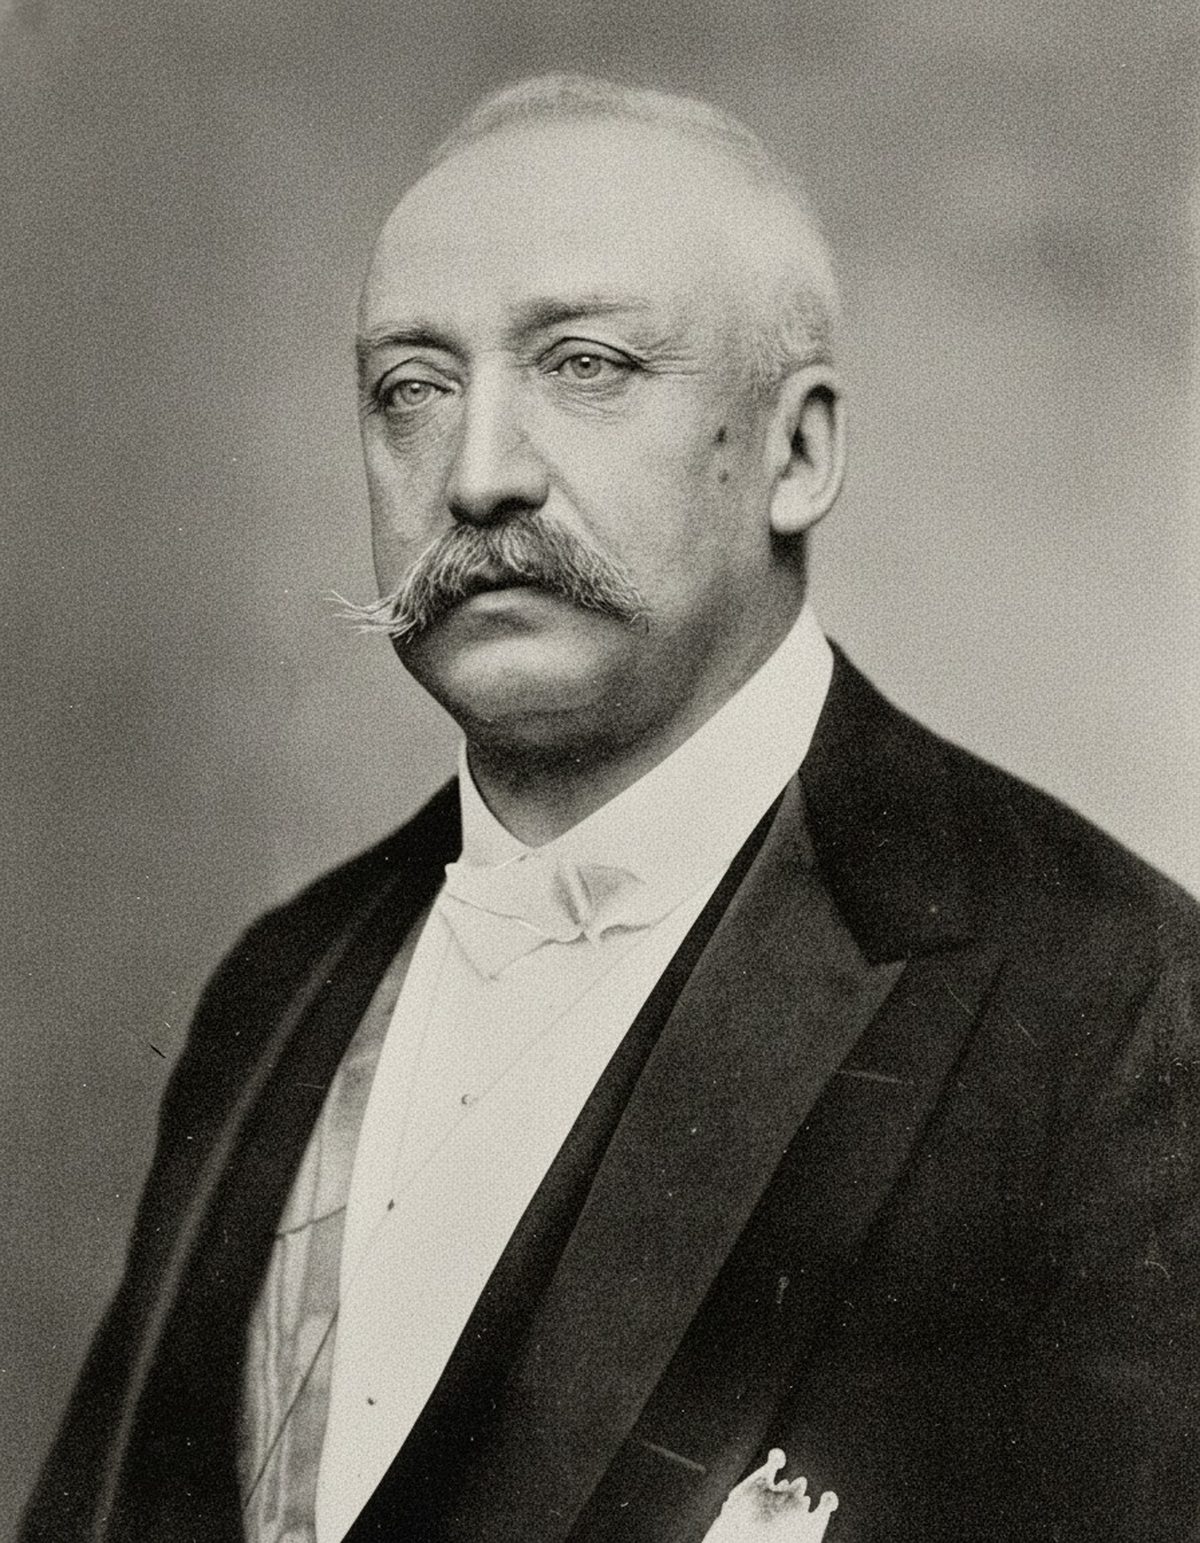
How it works
Upload your photo
Drop in a scan or phone photo of the damaged print. Your original is never touched, and there's no signup.
Preview it free
See the restoration beside your photo in about a minute. Drag the slider and judge it for yourself before you spend a cent.
Keep what you love
Pay only for the results worth keeping, then download them in full resolution.
Preview your photo — freeWhat to know before restoring this photograph
A film negative is the camera original with its tones reversed: dense black where the scene was bright, clear film where it was dark, and — on color stock — everything veiled by a built-in orange mask. Nothing about it can be judged until it is inverted, so scan first and evaluate afterwards.
Age attacks the base and the emulsion differently. Scratches on the glossy base side mostly scatter light and clean up well; gouges in the dull emulsion side remove image. Acetate film adds its own disease: a vinegar smell, shrinkage, and channeling, where the emulsion buckles into ridges as the base contracts beneath it.
That vinegar smell is a fire alarm for the collection. An affected strip accelerates its own decay and sours the environment of every negative stored beside it, so isolate it in its own sleeve, keep it cool and dry, and get it scanned soon rather than someday.
Capture negatives with light passing through them — a film scanner, or a camera over an even backlight — then invert. A phone photo of a negative held up to a window can work as a last resort for a lost frame, but a flat, even capture repays the effort many times over.
Once a sound inversion exists, AI can balance the density, clear dust and base-side scratches, and surface faces and textures that a faded paper print of the same frame lost decades ago. Negatives routinely out-resolve every surviving print made from them.
The limit sits in the thin areas. A badly underexposed frame recorded almost nothing in its shadows, and no amount of processing can read data the film never captured; detail proposed there is interpretation and should be treated as such.
Channeling and other physical distortions occupy the same category — the ridges can be softened visually, but image that buckled and cracked away is reconstructed, not recovered.
Keep the strip order intact in your filing. Frame numbers along the edge tie each image to its neighbors and its roll, and that sequence often answers questions — who was at the event, which day came first — that a single frame cannot.
Invert, preview for free, and compare against any print you have of the same frame; if the negative scan reveals more, keep the restored version and pay for that file, with the raw scan archived alongside.
Questions about scanned film negatives
Can I restore an old film negative after scanning it?
Yes — once the negative is scanned and correctly inverted, AI can clear dust and scratches, even out density, and pull out faces or texture that a faded paper print lost long ago. Negatives often hold finer detail than any surviving print, so there's real information to work with. A badly underexposed frame is the exception: where the film never recorded shadow detail, AI can only suggest it, not recover it.
Do I need to invert the negative before restoring it?
Yes — start from a clean, correctly inverted scan, ideally saved as a high-bit file with the frame edges included. Getting the inversion and the orange-mask removal right first gives AI accurate tone and color to build on. Feed it a poorly inverted scan and the restoration inherits those errors, so save your raw uninverted master before any editing.
How much does a restoration cost?
The preview is free. Full-resolution downloads are $7.99 per photo, and the rate drops the more you restore — down to $4.49 each on the largest batches. Each photo includes up to three restoration attempts, and downloads stay available for 30 days.
What happens to the photo I upload?
It becomes the reference for a new restored copy and is left unchanged. Your job is to keep that original scan safe and labeled so you can always see what was real versus what the AI rebuilt.
See what your photo can become
Upload it, preview the restoration free, and keep only the result that feels right.
Preview your photo — free- 3 free previews a month
- No signup
- Ready in minutes
- One payment — nothing to cancel