Guide / print restored photos at home
How to Print Restored Photos at Home
Make a small test or one full sheet before producing copies. Matte paper hides fingerprints and glare; glossy paper can show deeper apparent contrast. Home output is a convenient viewing copy, not a claim of archival permanence. Store the scan and full-resolution restoration in separate backed-up locations. Keep the untouched scan beside the result.
- 3 free previews a month
- No signup
- Ready in minutes
- One payment — nothing to cancel
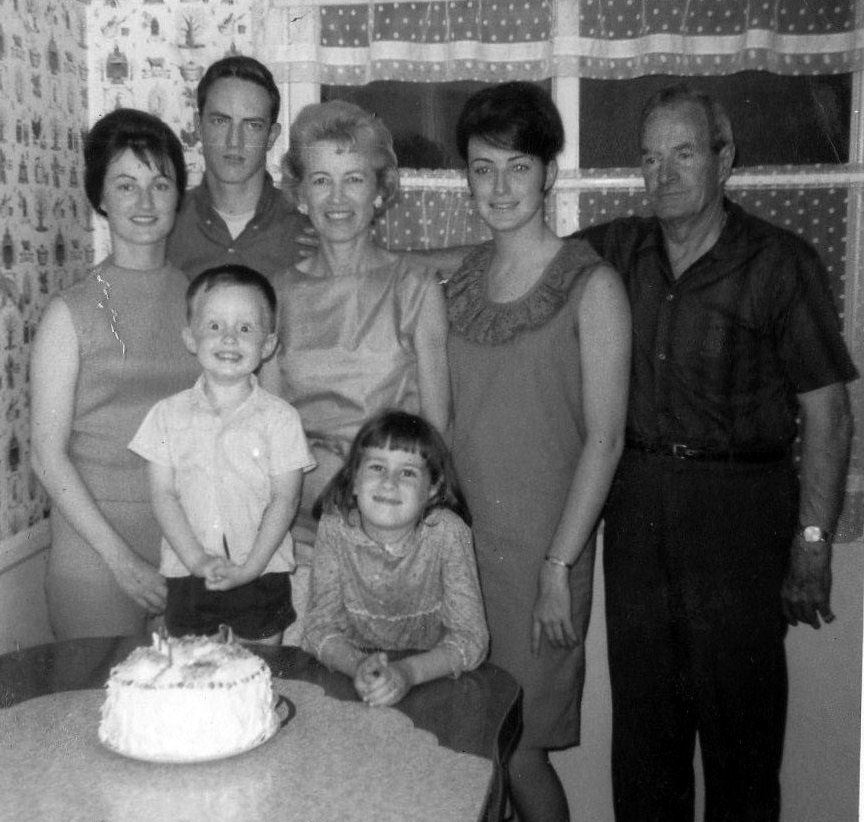
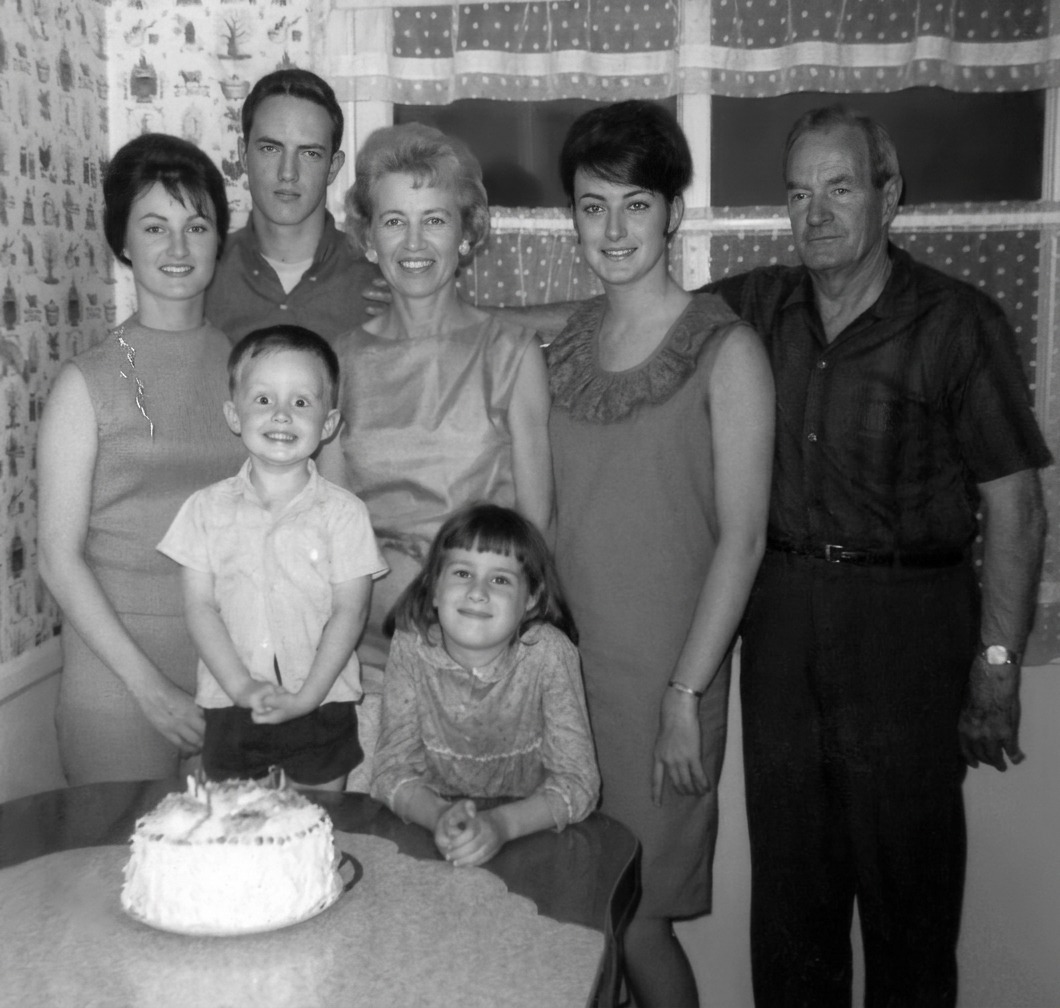
How it works
Upload your photo
Drop in a scan or phone photo of the damaged print. Your original is never touched, and there's no signup.
Preview it free
See the restoration beside your photo in about a minute. Drag the slider and judge it for yourself before you spend a cent.
Keep what you love
Pay only for the results worth keeping, then download them in full resolution.
Preview your photo — freeA practical, reversible workflow
Look over the whole object before deciding that enhancement is the first job. With printing restored photos at home, a good home print starts with enough pixels at the intended size, a neutral screen review, and a file exported specifically for the printer. Recording those qualities in the raw capture gives the restored version an honest point of comparison.
At 300 pixels per inch, a 4-by-6 print needs about 1200 by 1800 pixels; larger output may reveal reconstruction that looked fine on screen. The distinction explains why some marks can be blended confidently while other areas require a visibly interpretive reconstruction.
Crop to the paper ratio rather than letting the printer silently trim faces. Turn off either application or printer color correction to avoid a double adjustment. Include a color-neutral reference only when it can sit beside the object without covering an edge.
Make a small test or one full sheet before producing copies. Matte paper hides fingerprints and glare; glossy paper can show deeper apparent contrast. The aim is a readable version that still belongs to the same photographic object, not a newly staged scene.
A careful home print shows off a restored photo's recovered contrast and detail on the right paper, and you can reprint it whenever you like. AI-drafted restoration is therefore best handled as a reversible interpretation alongside the original scan.
Invite another viewer to inspect printing restored photos at home without first showing the new version. Ask what they notice in the source, then compare that description with the draft. This simple check catches altered expressions, misplaced edges, and other plausible-looking changes that automated quality measures cannot understand.
If printing restored photos at home will be shared publicly, decide whether names, locations, or document details create privacy concerns for living people. Make a separate sharing export when cropping is appropriate, but retain the complete private master with the provenance and edit notes intact.
A useful handoff for printing restored photos at home names the visible starting condition—a good home print starts with enough pixels at the intended size, a neutral screen review, and a file exported specifically for the printer. Save the raw capture, restored master, practical sharing copy, and identification notes together. That package lets another relative distinguish surviving evidence from the choices made in this version.
Before you print a stack, use the free preview to check how a restored file actually holds up, then print one test sheet at the size you want. You pay only for the results you export, so there's no cost to find the right crop, paper, and color settings first. Get those right and you can turn out clean, frame-ready prints at your own kitchen table, any afternoon you like.
Questions about printing restored photos at home
Can I print a restored photo at home and have it look good?
Yes, if the file has enough pixels for the size — roughly 1200 by 1800 for a 4-by-6 at 300 ppi. Crop to the paper ratio so faces aren't trimmed, turn off either the app's or the printer's color correction so you don't double-adjust, and print one test sheet first. A home print is a great viewing copy, though it isn't archival, so keep the full-resolution master backed up separately.
Does matte or glossy paper work better for restored photo prints?
Both have a place. Matte hides fingerprints and surface glare and suits portraits meant to be handled; glossy deepens apparent contrast and can make a restored scene look punchier. Make a small test on each before committing a batch, and keep the full-resolution master filed apart from these print-sized exports.
How much does a restoration cost?
The preview is free. Full-resolution downloads are $7.99 per photo, and the rate drops the more you restore — down to $4.49 each on the largest batches. Each photo includes up to three restoration attempts, and downloads stay available for 30 days.
Is my original scan safe?
Yes. The restoration is a separate file, so your scan stays exactly as it was. Keep the raw scan archived on its own; a fragile, moldy, or flaking print should be handled and captured carefully before you ever upload it.
See what your photo can become
Upload it, preview the restoration free, and keep only the result that feels right.
Preview your photo — free- 3 free previews a month
- No signup
- Ready in minutes
- One payment — nothing to cancel